S006 EP141
A few years ago, I obtained a Polaroid Land Camera Automatic 100. At the time, I wasn't shooting film, just digital. A while back I blogged on how I had my dad's old film images back in the 1980's before I was born in Disneyland and why I want to start shooting film all of a sudden. (Which can be found HERE)Last month, I finally got my Polaroid Land Camera converted and working. Since Polaroid doesn't make any film anymore for these cameras, Fuji Film makes an alternative yet inexpensive film for it. Where ever I would go, I would now take my Polaroid and my Nikon D800. The first time shooting with the Polaroid Land, it was nothing but focusing issue, images too dark, images not coming out how it should, random spots and overall more disappointed rather than happy. Basically a bunch of trail and errors.
Going through three more packs of Fuji Film FP-100c, I was able to solve most of the issues I had. Although the getting the light on how you want it to be is tricky. Lets take a look on each pack through the good, the bad, and simply the ugly.
--
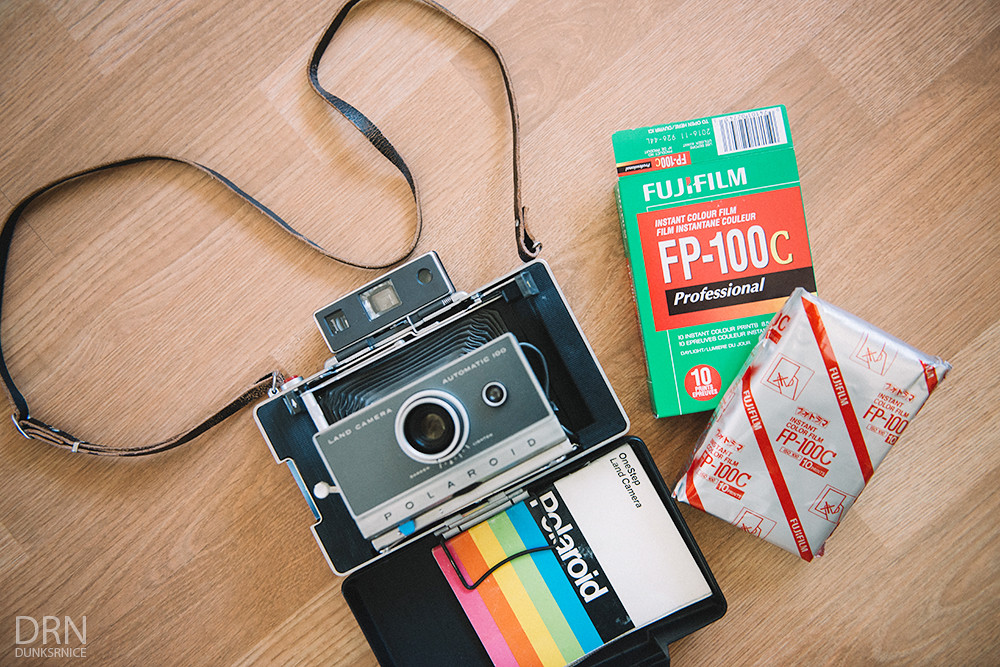
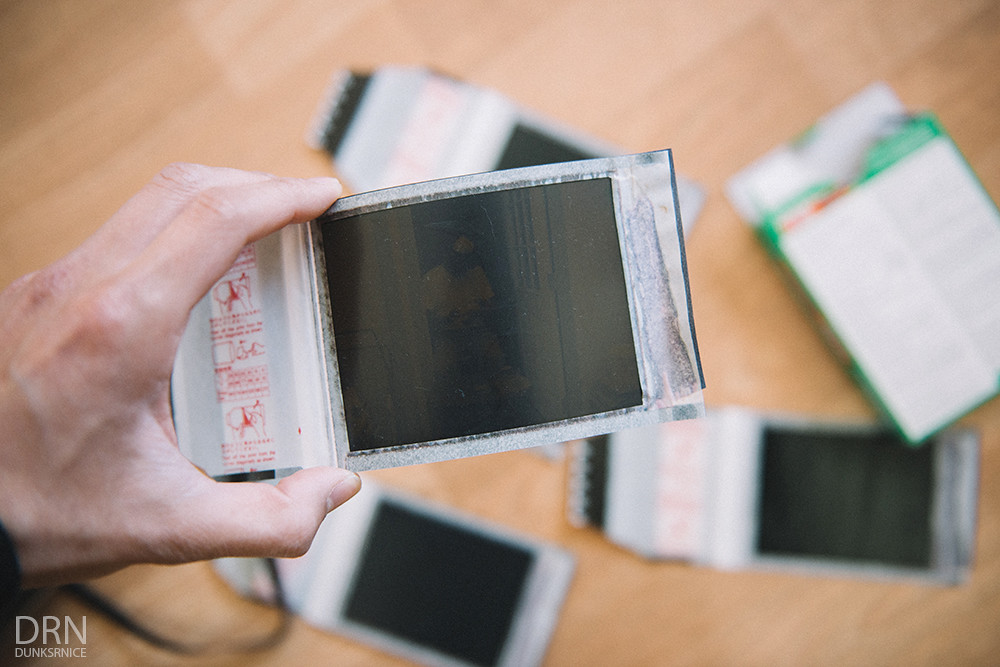
The camera and film itself.
These white paper strips were always the issue to me. If you pull on the white paper to fast, you will either mess up the next film and lose it or have trouble pulling the current white strip. I found it best that when you pull the white strip an inch out, rip it connected to the other white strips, you will have a clean pull strip if that makes sense.
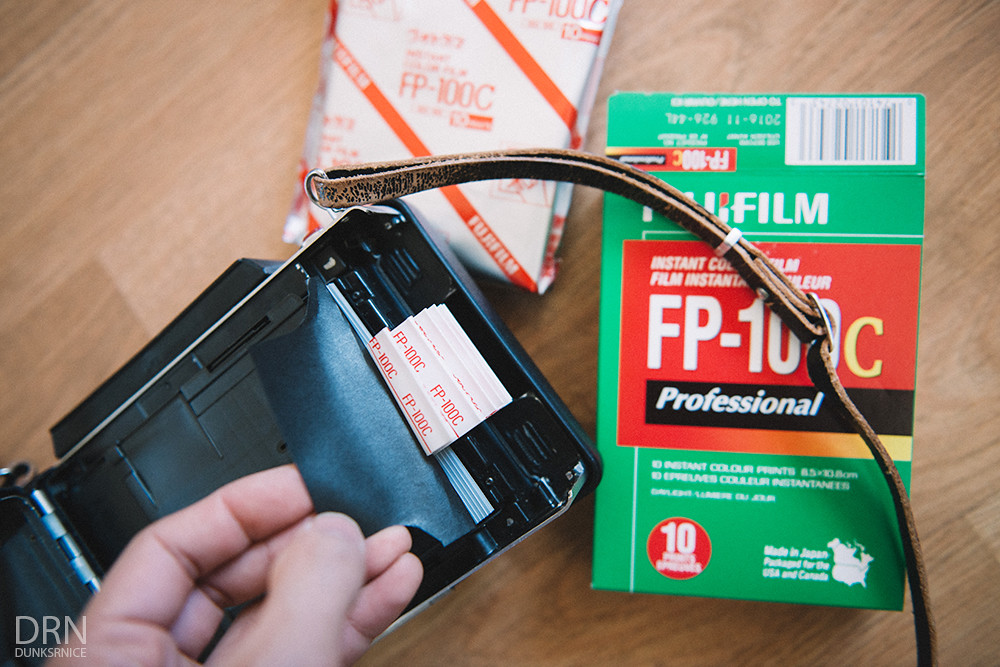
The black plastic cover is also fragile and as you can see, I ripped this one.
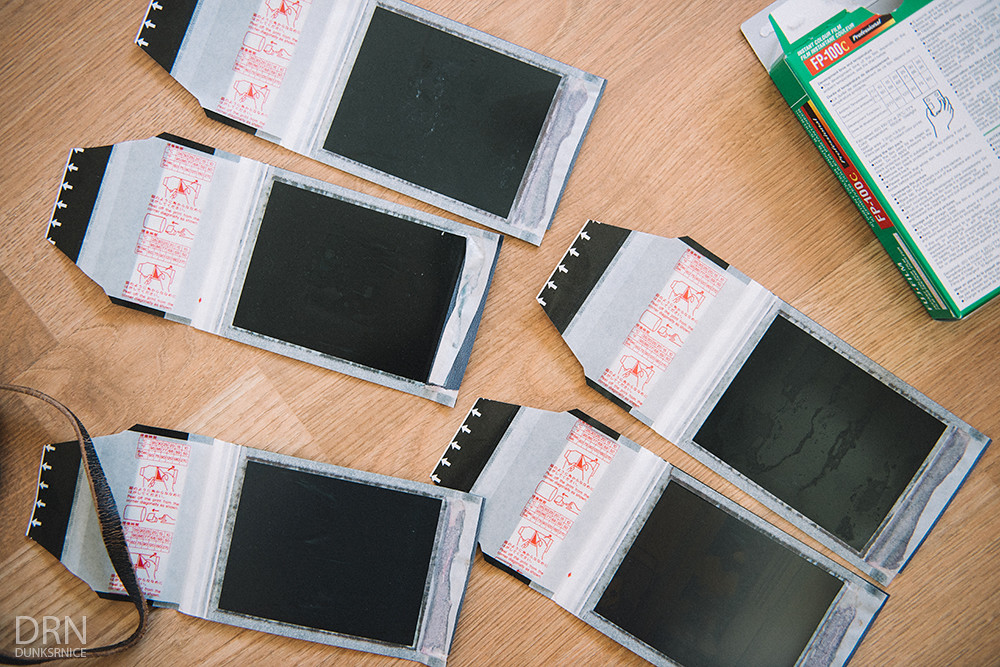
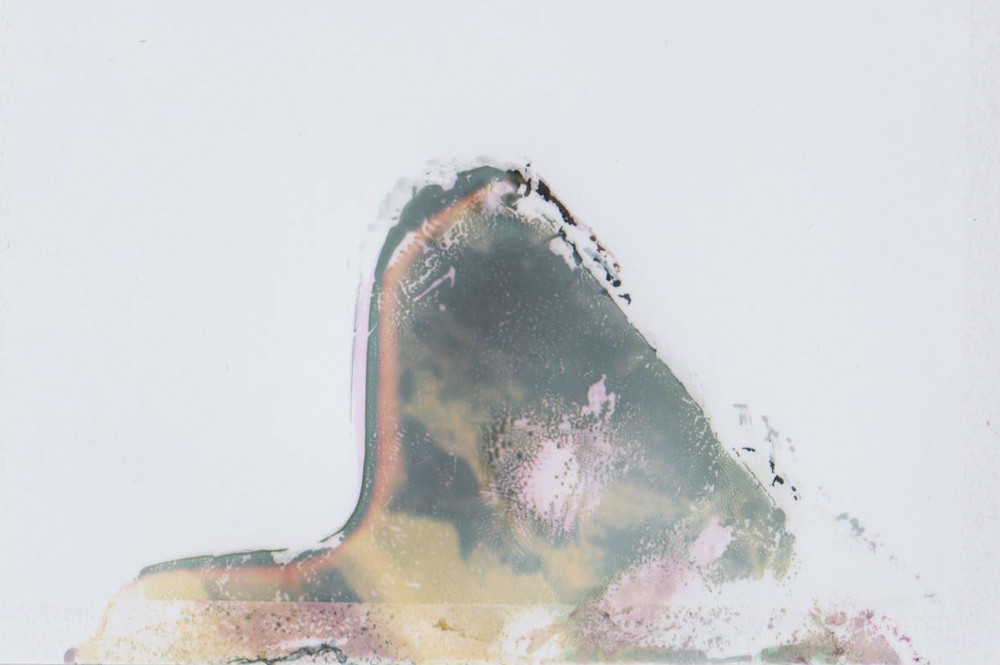
Here are some negatives I decided to keep when you peel the photo off it.
--
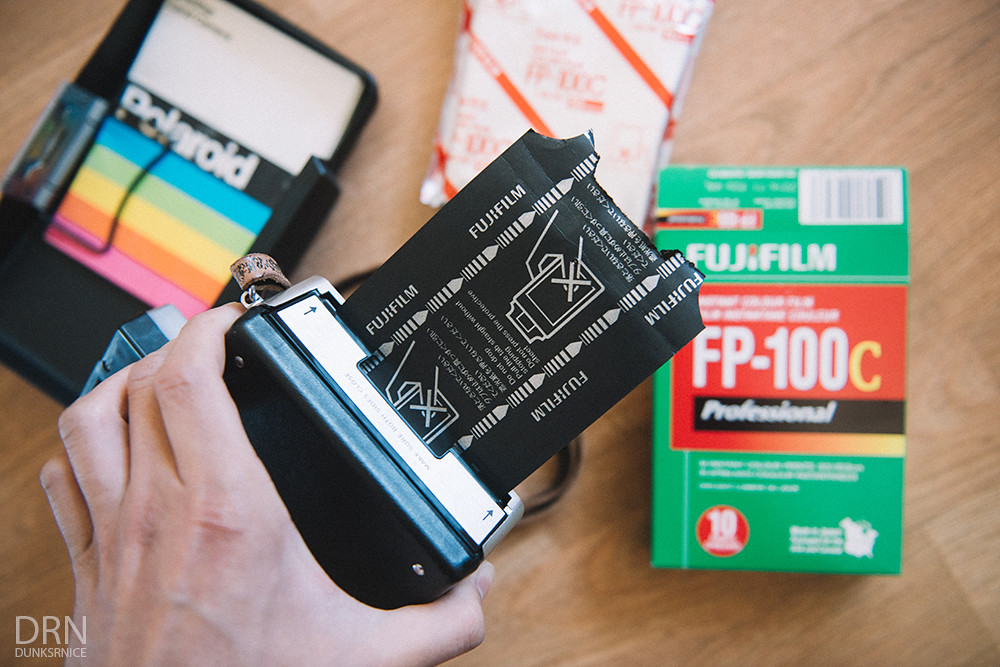
Lets take a look at Pack Number One.
The first image is out of focus but it was my very first image ever taken with it. The Polaroid Land Camera Automatic 100 has a very small focus like film cameras. You would look into that focus finder and focus on your subject until it lines up and matches. The problem and what I didn't know was I kept looking at the regular view finder without focusing it first through the focus finder but simply trying to focus with the view finder.
Basically before you take your photo, you would have to look into the focus finder, line it up, and then switch to the view finder to frame your image. In this case, I went through the first pack of film without doing so.
What happened here was when you pull the image out, I messed up on the white strip causing the chemicals to develop it, turn into this.
Same as above. If you don't pull the image real smooth and stop any time, this happens.
This is another thing about the film. When you pull out the image, don't let it dry for about five minutes, and let it sit and press against something it becomes sticky. In this case, I did that, didn't focus the images, and stopped causing it to do this.
Probably one of the more better images that turned out good from Pack One. I believe I applied some pressure or didn't pull out the image correctly causing these small circles/orbs in the image.
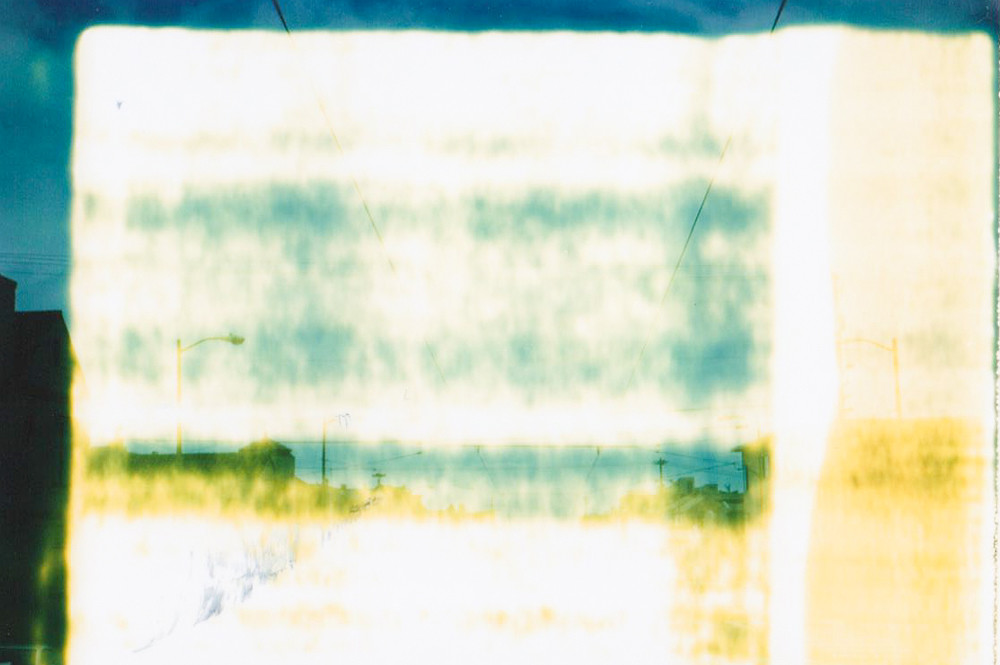
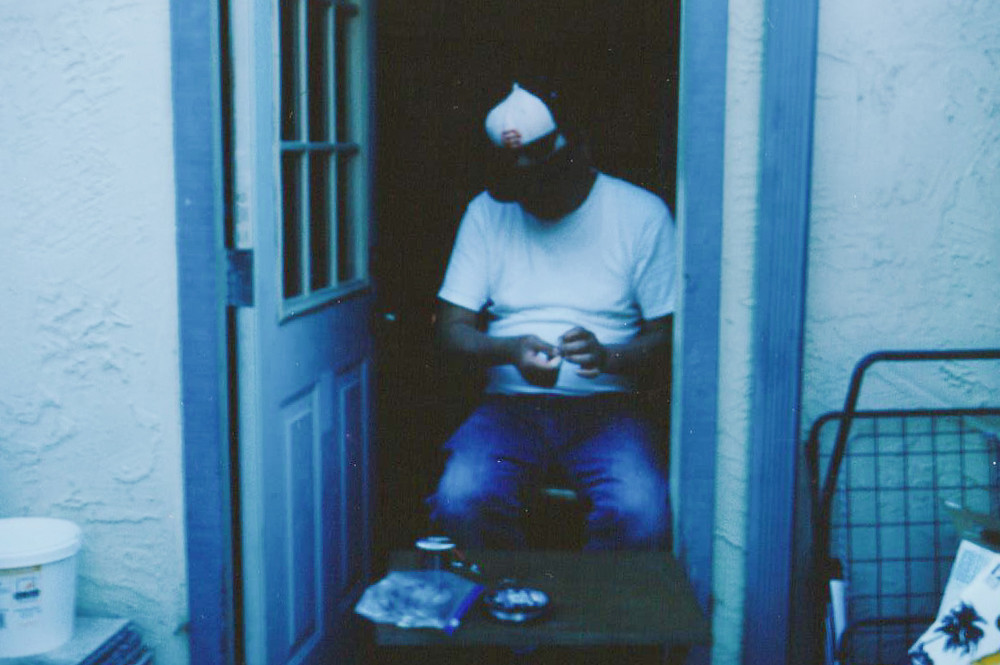
Since the film is 75 ISO, it's not too good in low light nor indoors if you're not using a flash. In this case, my camera is simply made for outdoors until I get a flash. This was shot indoors, no flash, with many different lights.

I tried a different setting which came out a tad bit brighter and better, but still wasn't good enough.

This is what happens when you pull the white stripe too fast causing it to waste a film.
--
Lets take a look at Pack Number Two.
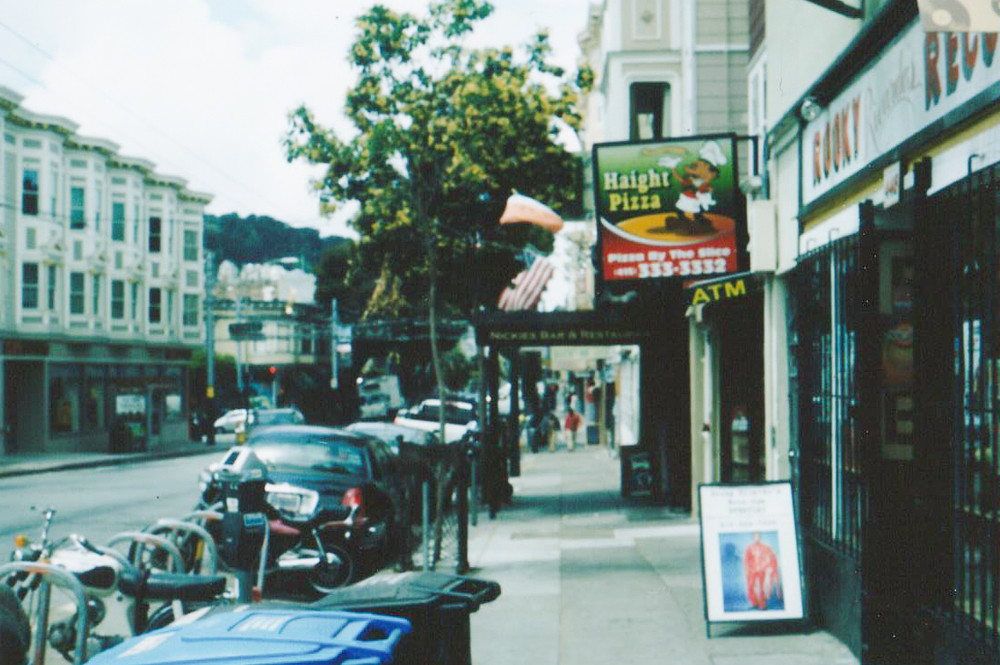
I didn't wanna give up, so I got more film and decided to shoot around Sutro Bath. I simply didn't focus on the image because I forgot to focus the image. Again not looking in the focus finder, only the view finder which is wrong which caused it to do this.
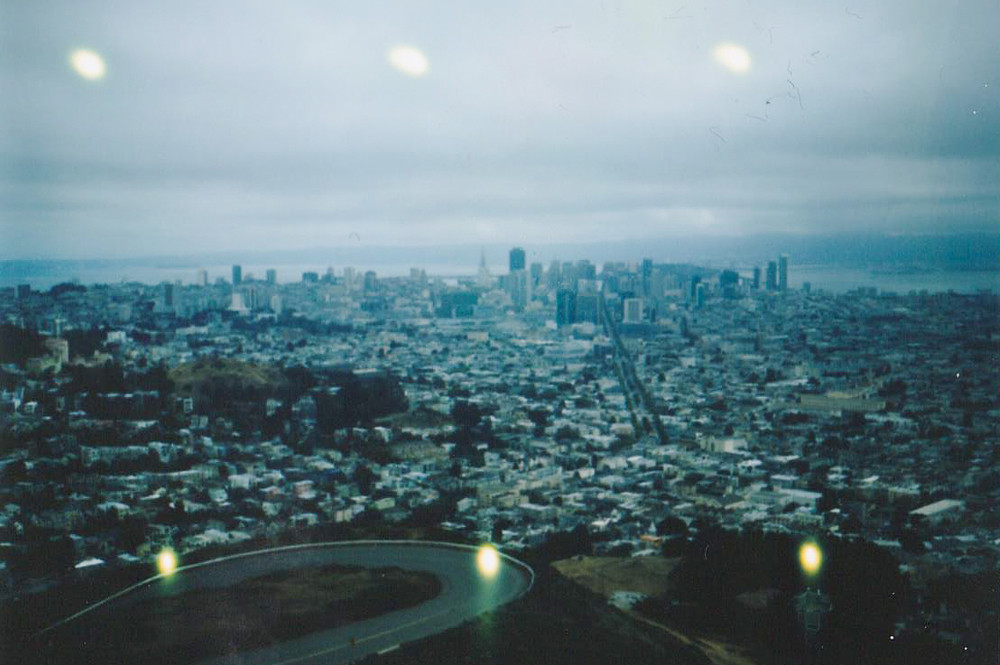
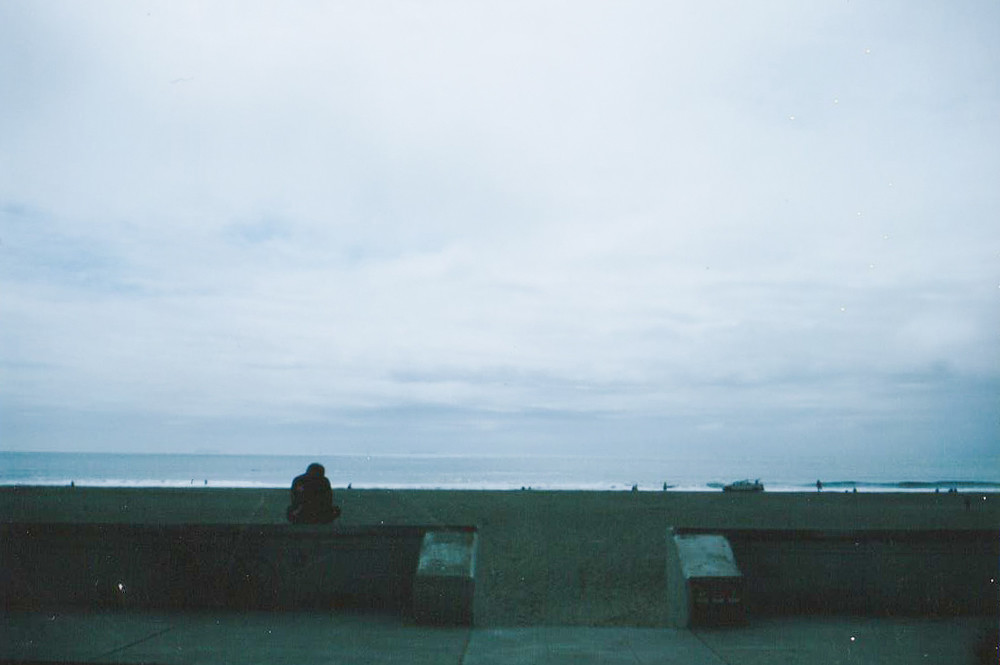
I finally figured out how to focus for the image and get the correct lighting and shutter issue. Probably one of the best images from Polaroid Pack Two.

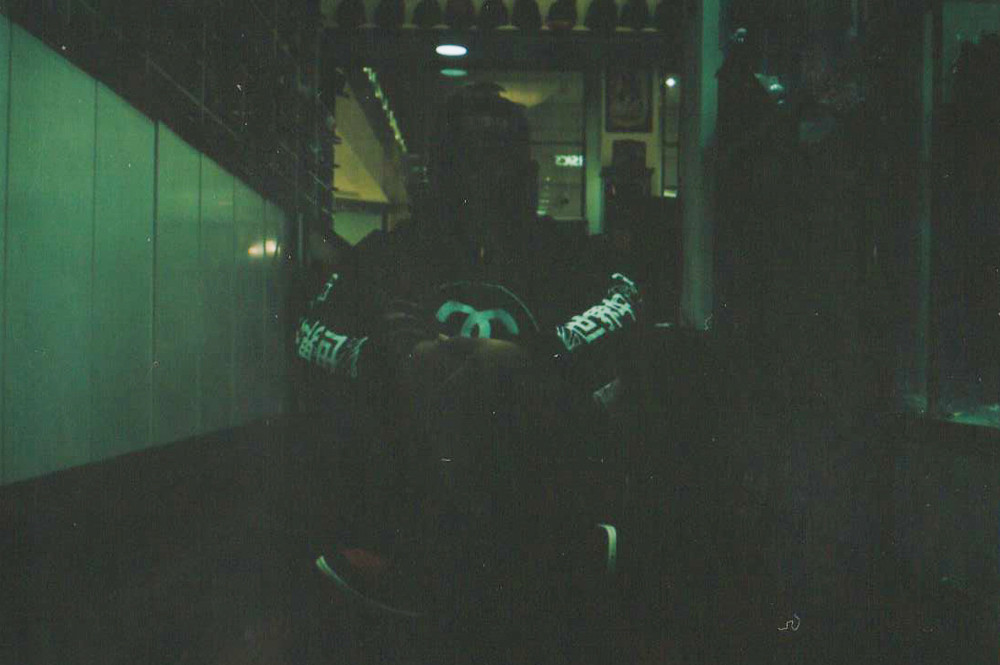
Since I had one shot left, why not try and see if I can get the indoor technique down. Zalo was my subject and model. Before shooting, we discussed many different options and ideas. In the end, it still didn't turn out right even though we timed the developing, the shutter, and light.
--
Lets take a look at Pack Number Three.
After going through packs, trail and errors, I believe I figured out everything to take a good polaroid photo. Below you can see the progress and improvement I had over time.


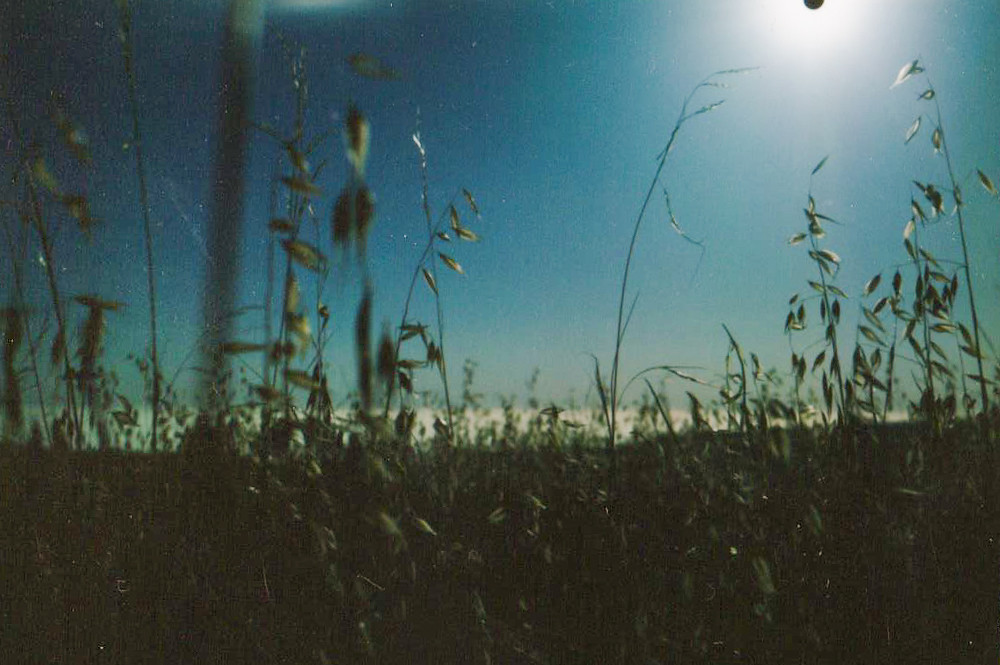
Moving objects are a bit tricky to focus. It's a hit or miss.


--
Lets take a look at Pack Number Four, the last one.
For my last pack, decided to take it out to Mt. Tam but before I did, I wanted to try one last thing. Here is a portrait of my dad in the shade during a mid sunny afternoon. I would say this was taken around 3:00 to 4:00 PM. As you can see, I kept my brightness and darkness right in the middle before taking this image. I thought it was good until I saw the results. Images should just be photographed at a lighter setting regardless if it's really sunny.
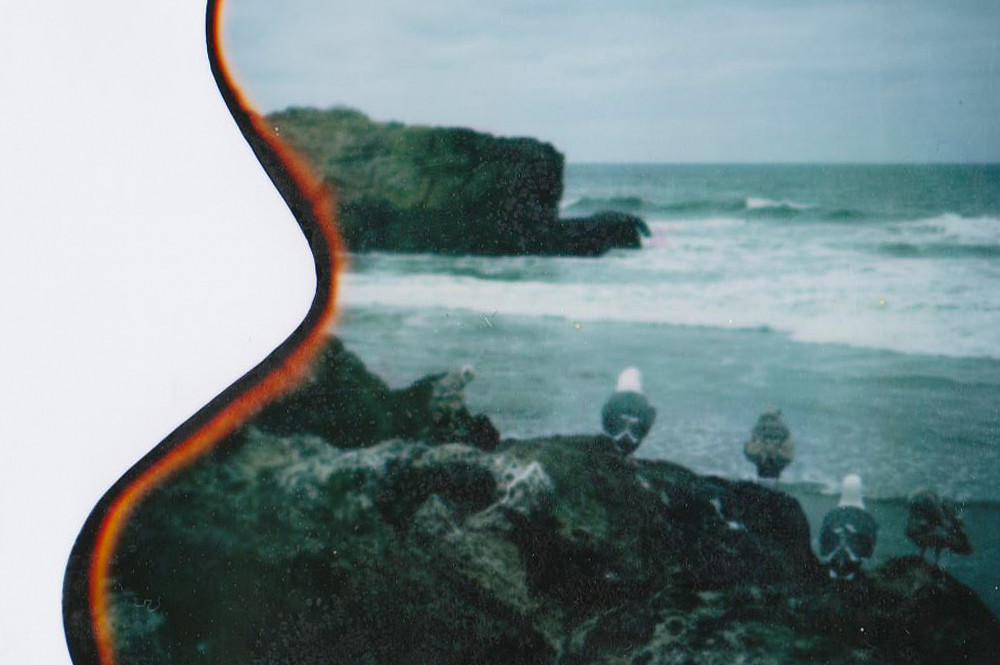
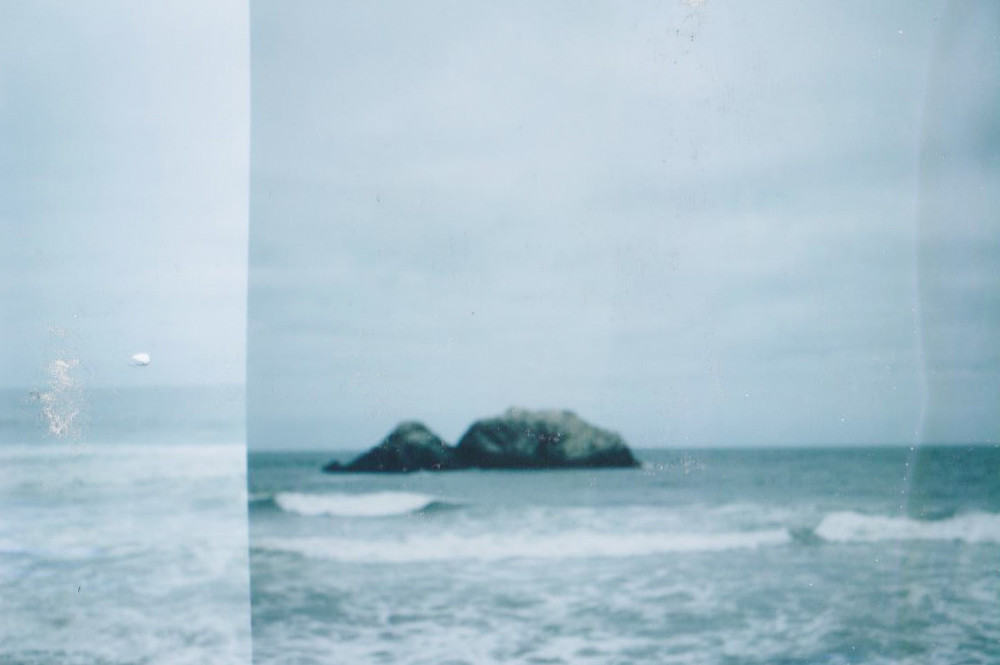
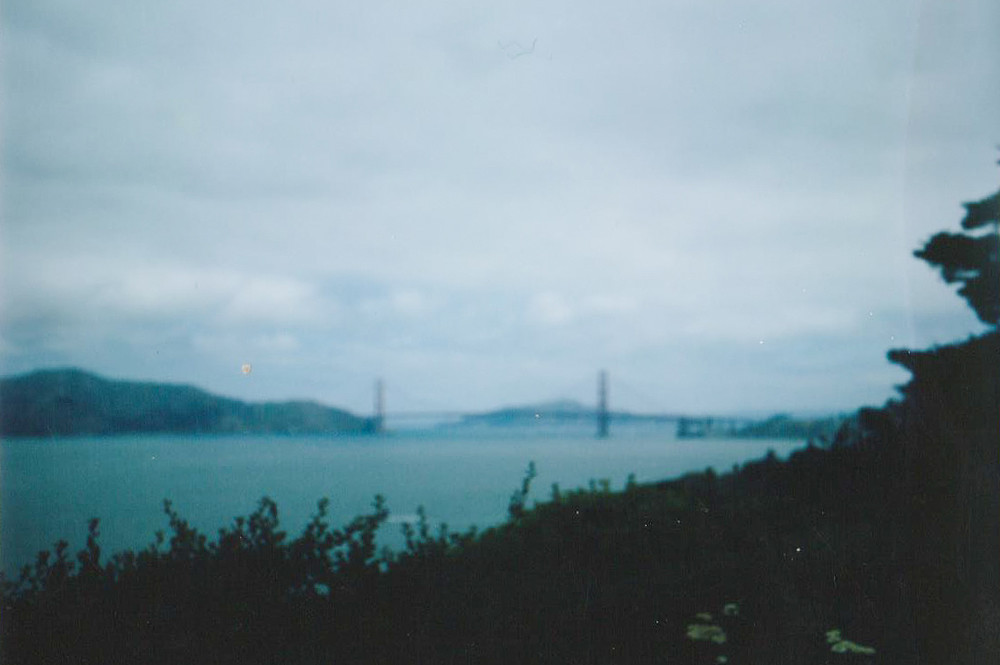
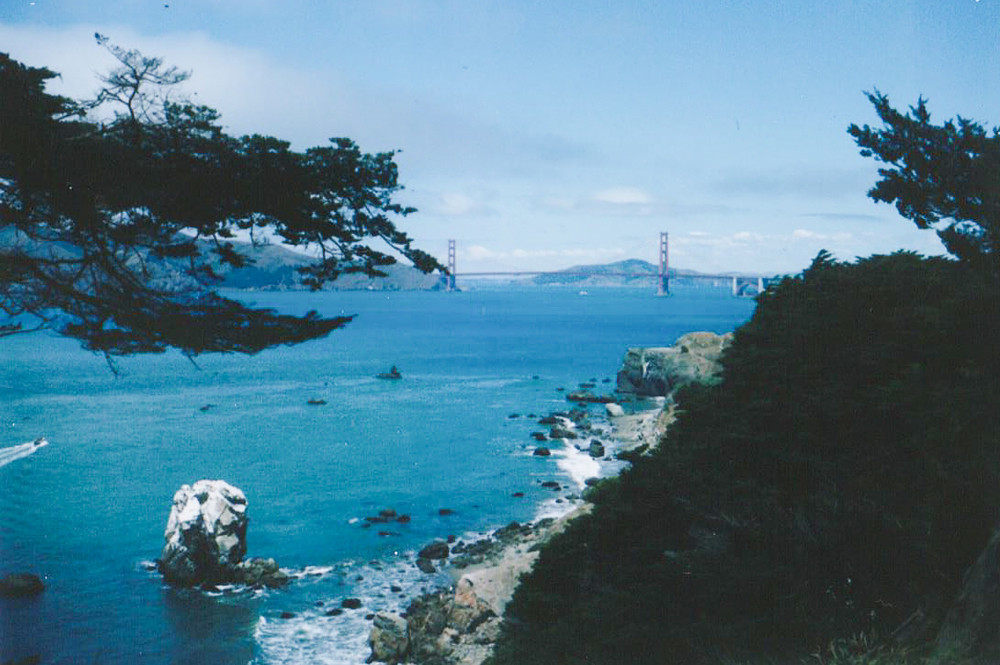
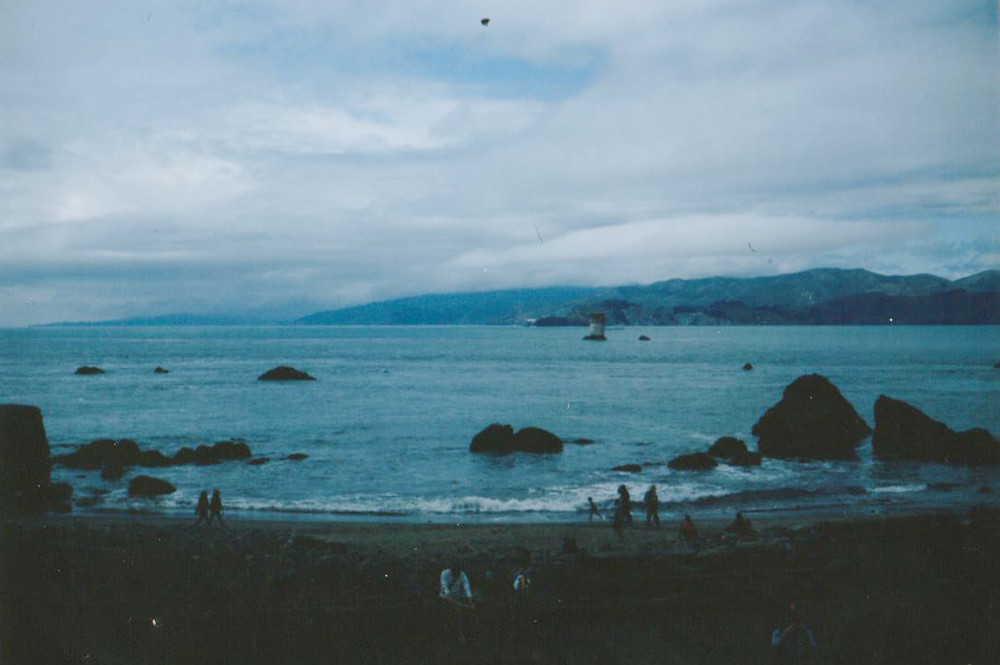
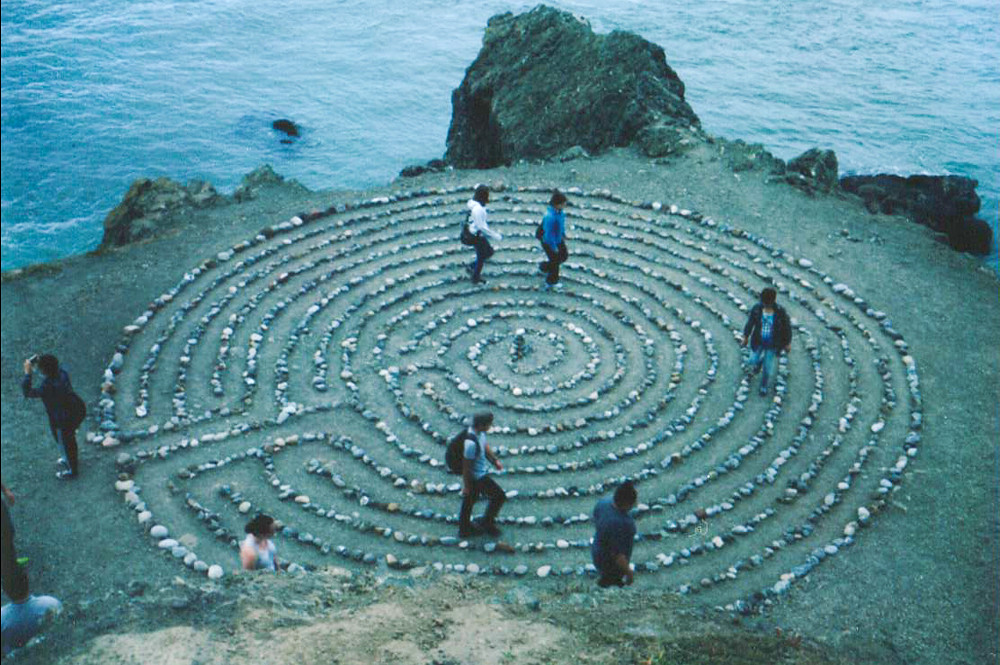
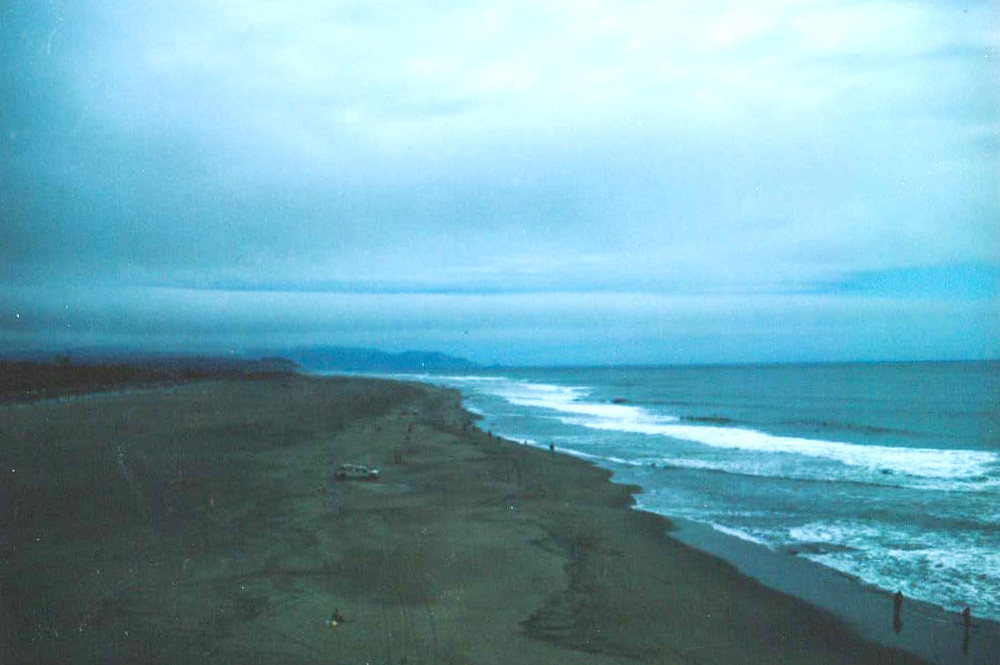
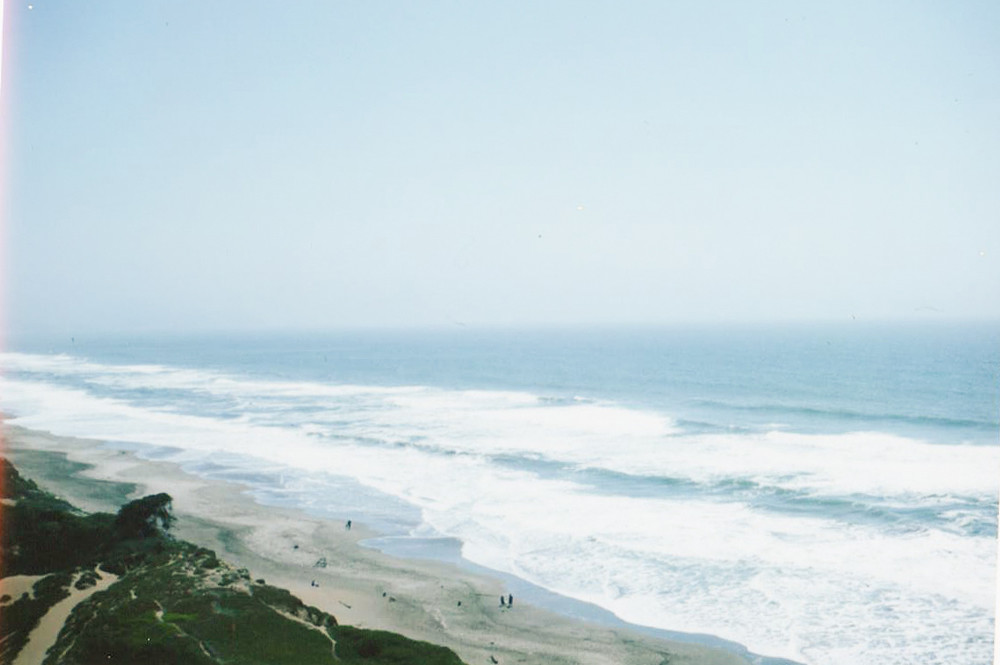
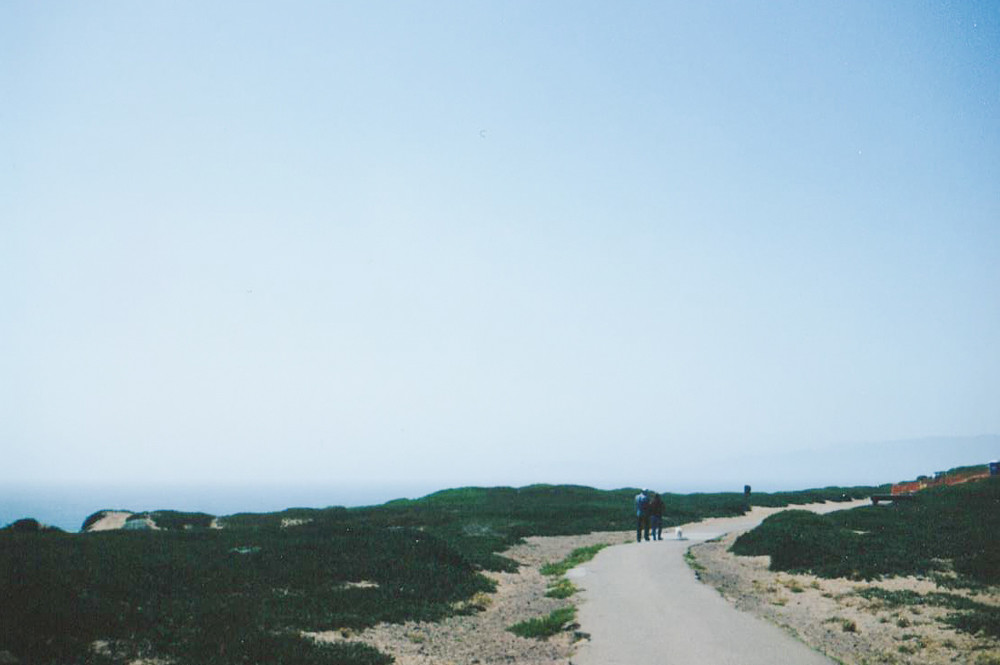
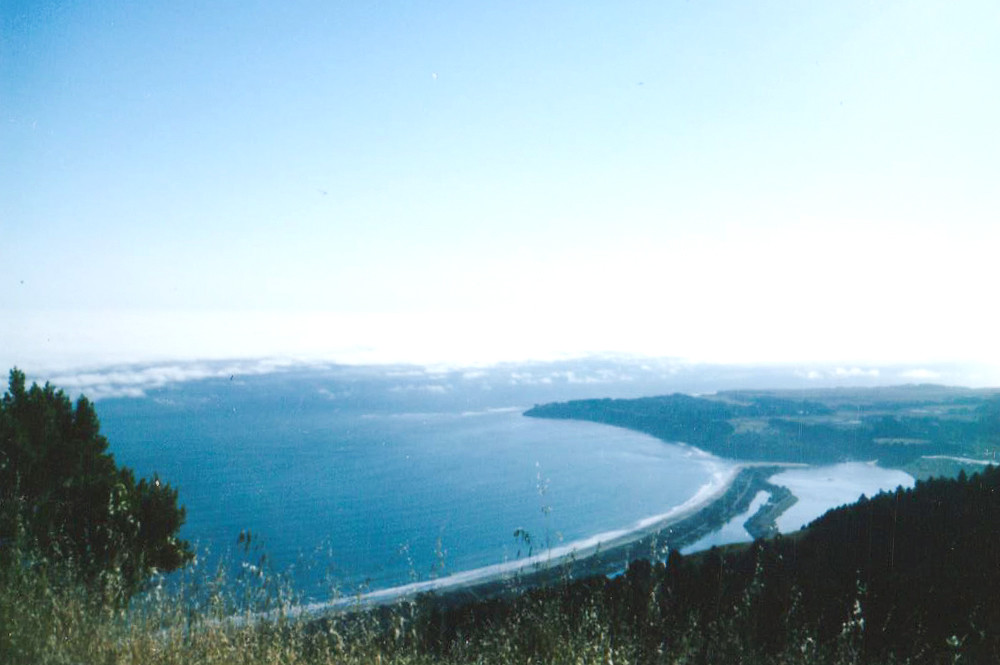
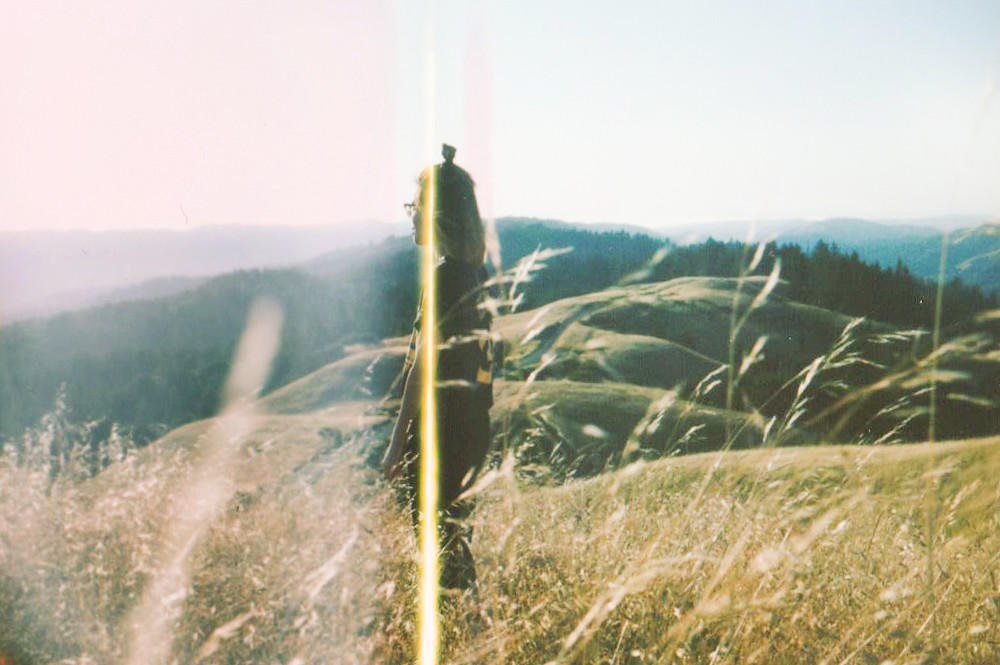
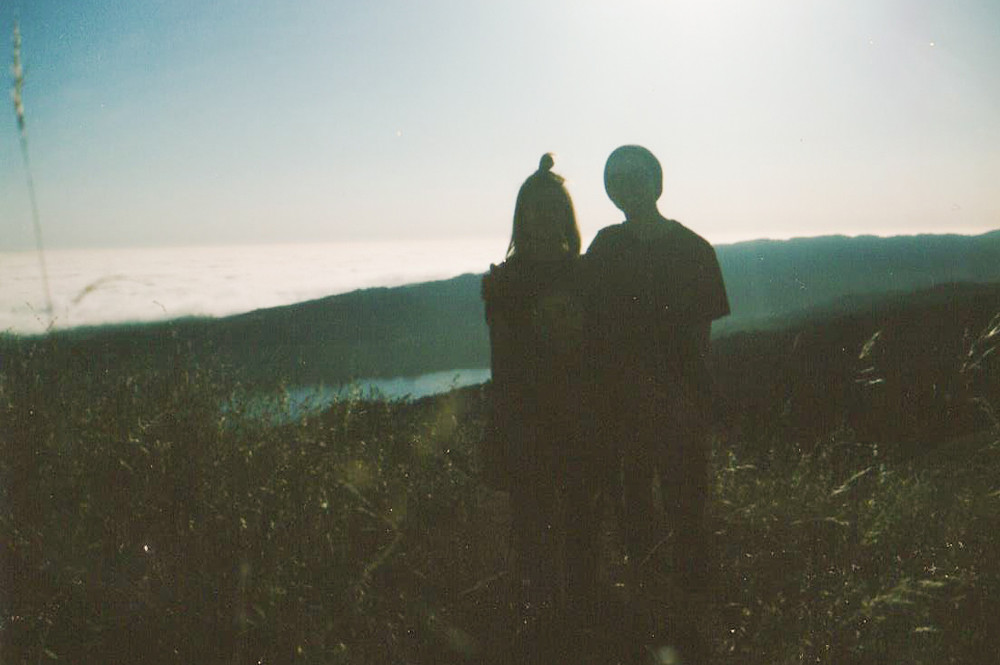
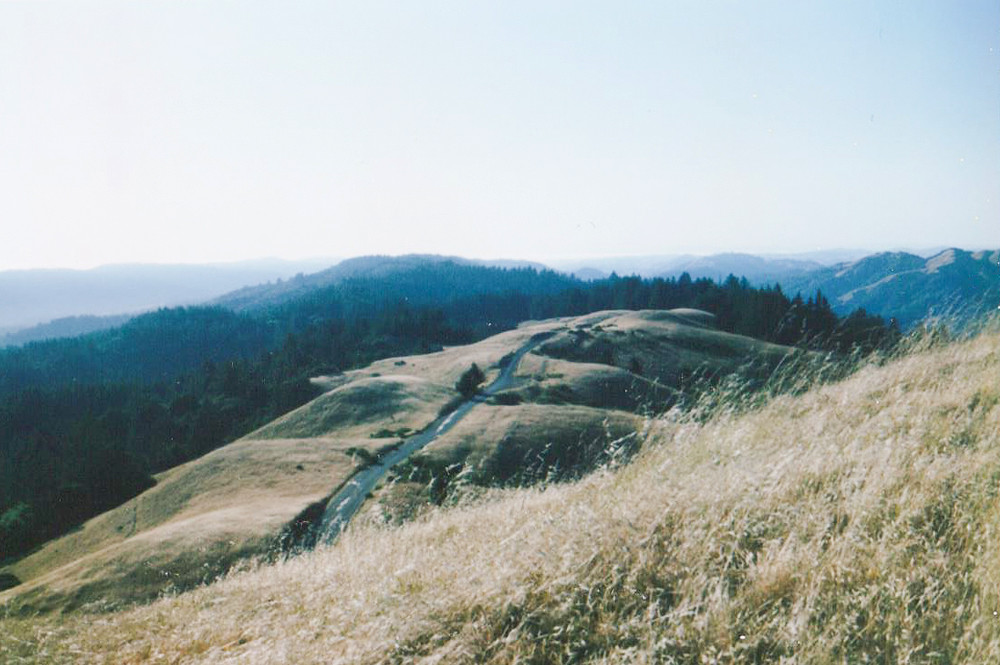
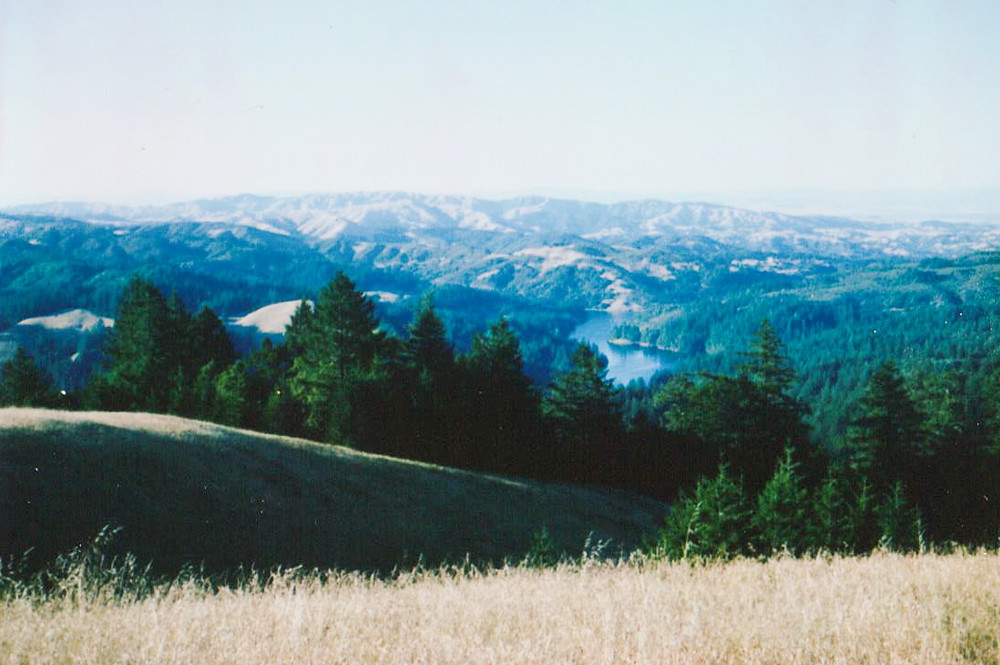
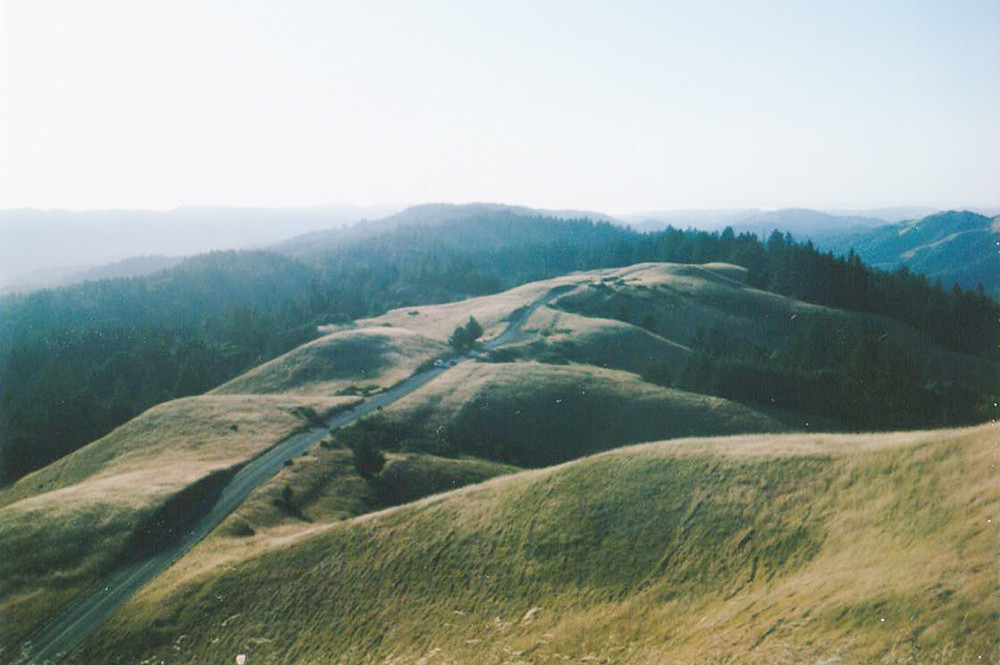
These are images from Mt. Tam and I'm really happy with most of them even though some came out underexposed.
Overall I really enjoy shooting with this Polaroid camera. I plan to keep shooting with it. Some things that I need to keep improving on. The images aren't as sharp as I want them to be but that may be a focusing issue. The film is smaller than a 4x6 so they look sharper in person. I did scan these smaller than usual so maybe that may be it. As far as the images that are dark, I'm just going to stick to making the images to the brightest setting. I believe that is the key for getting an overall good exposure.
I do have another pack of film for this camera, but since each pack is anywhere from $9.00 to $15.00 depending where you buy it, it adds up. Not only that, since this is film and only have 10 shots per film, you are limited compared to digital were you can shoot as much as you want and not worry about it. That's what I really enjoy about shooting film. It really becomes a hobby all over again for me. Shooting film all these years is great and easy, but having the challenge and being limited to my photographs, makes it even more fun.